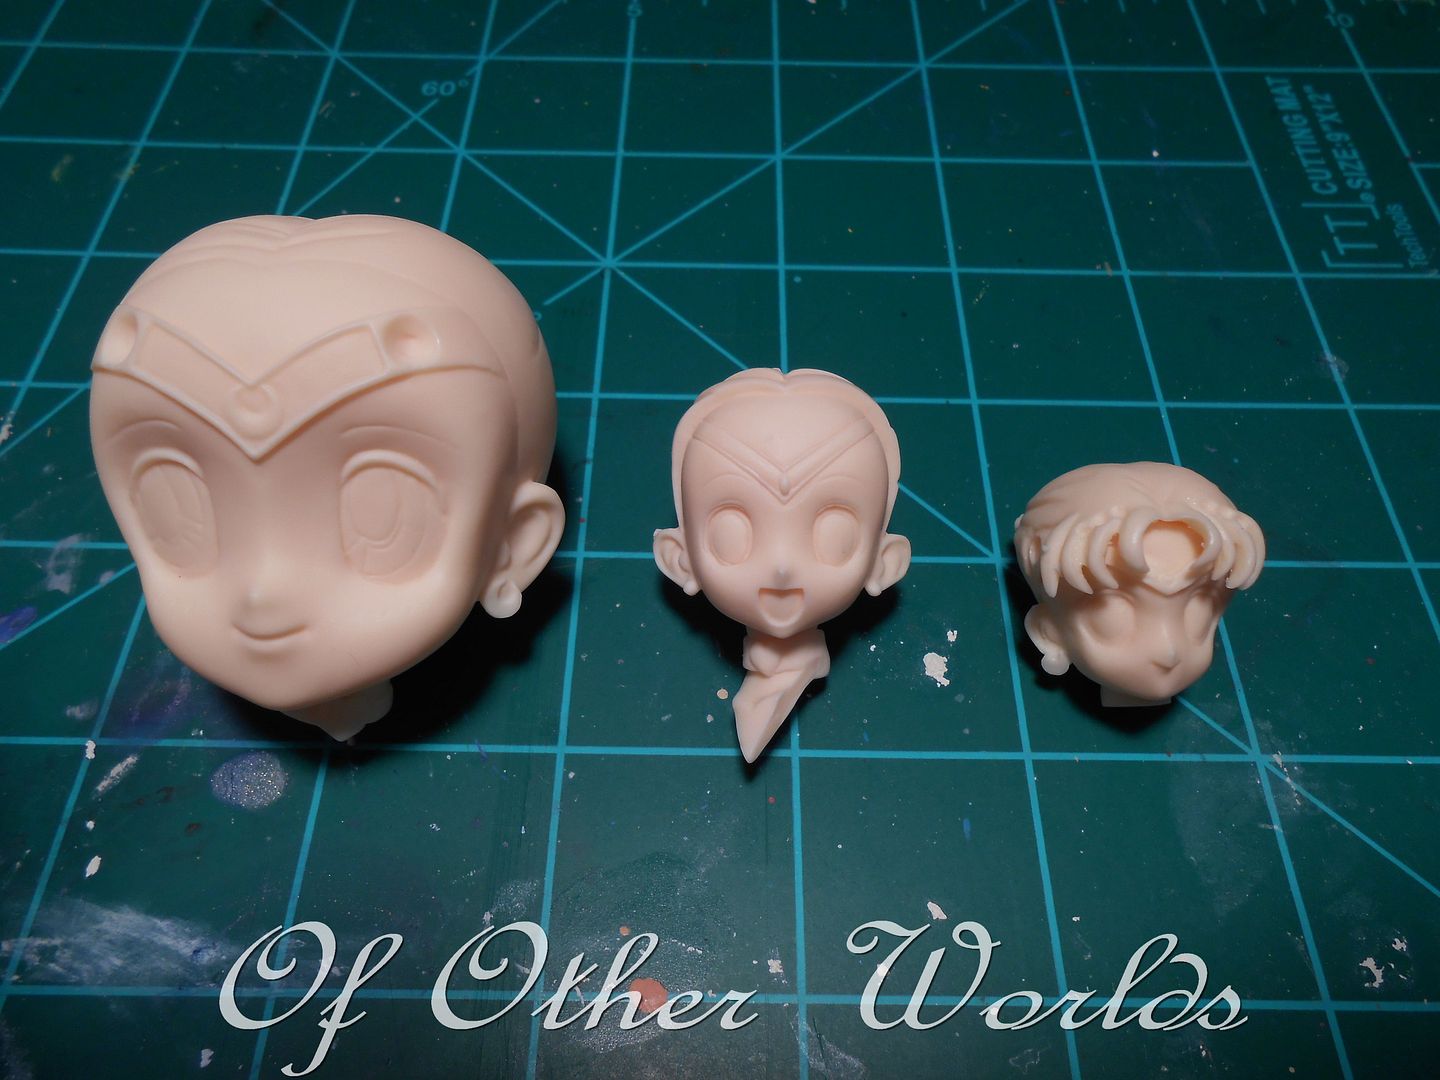
Chibimoon is proving to be quite the challenge due to her casting. Remember how I stated in my previous post that she wasn't the best in the world? Yeah...about that...

O_____O;
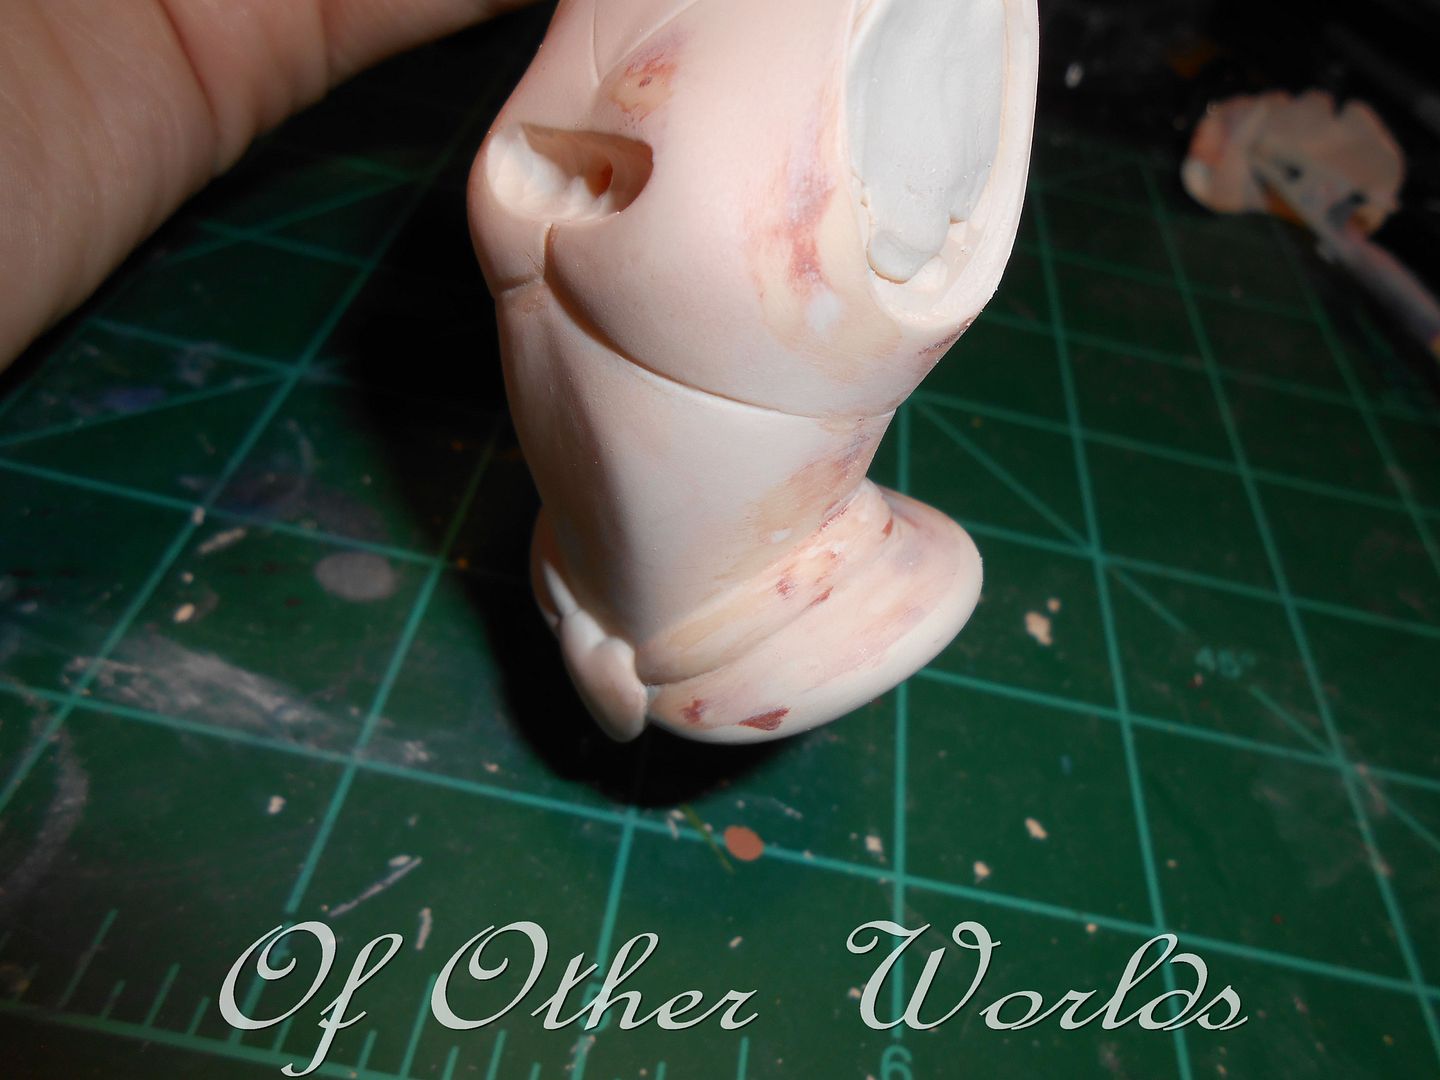
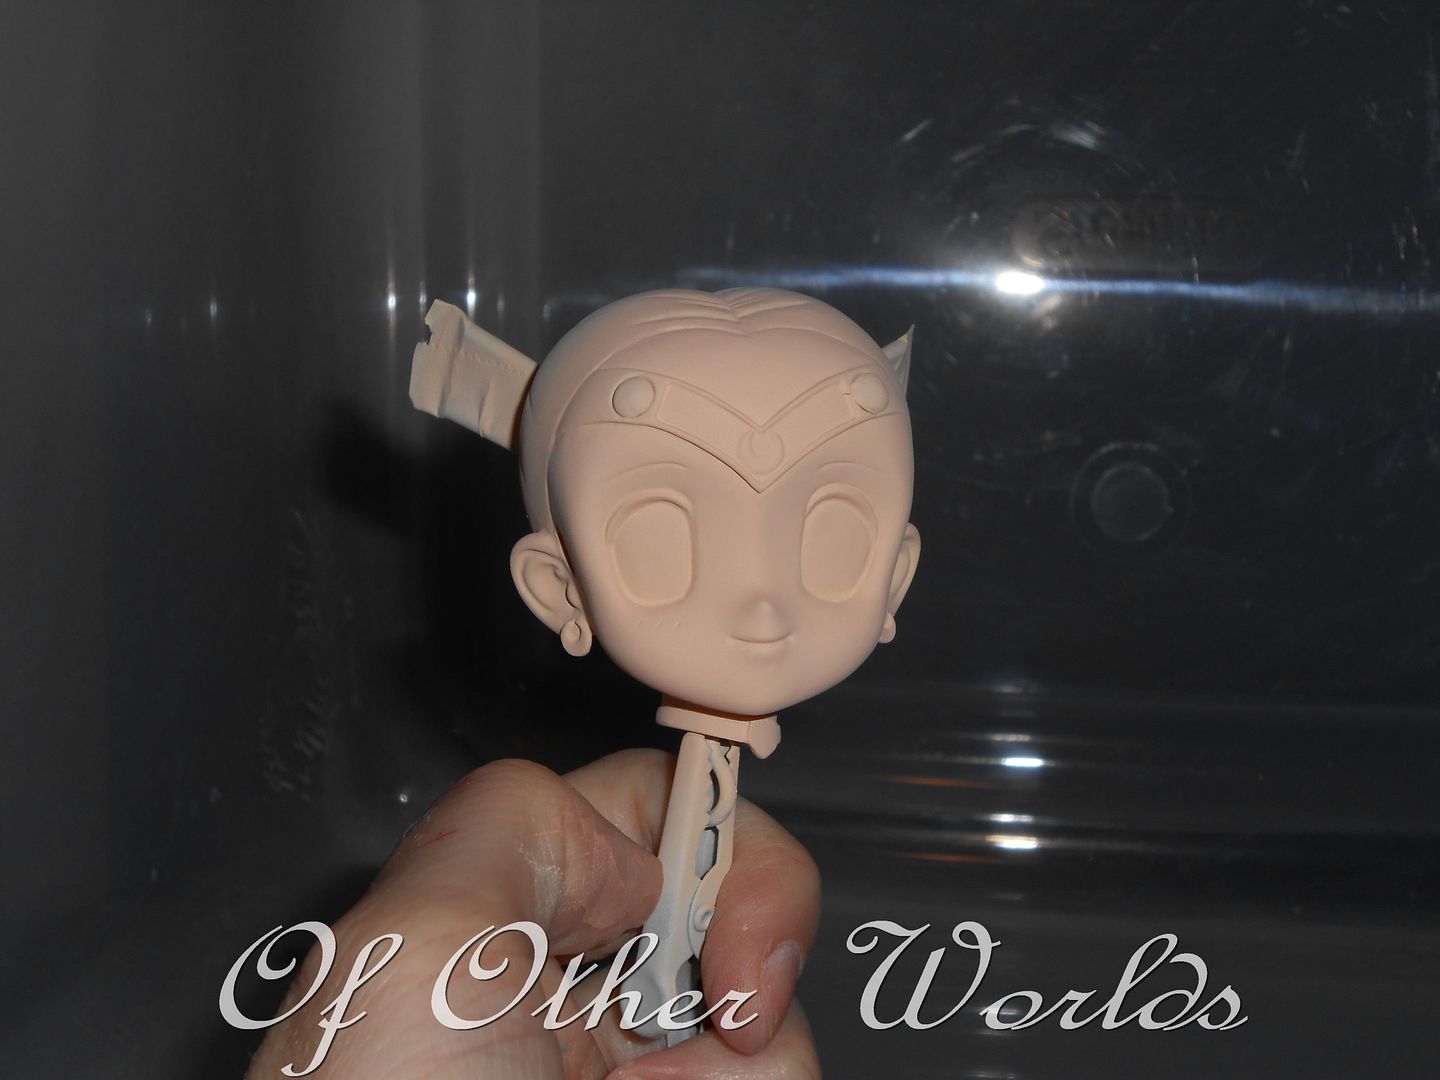
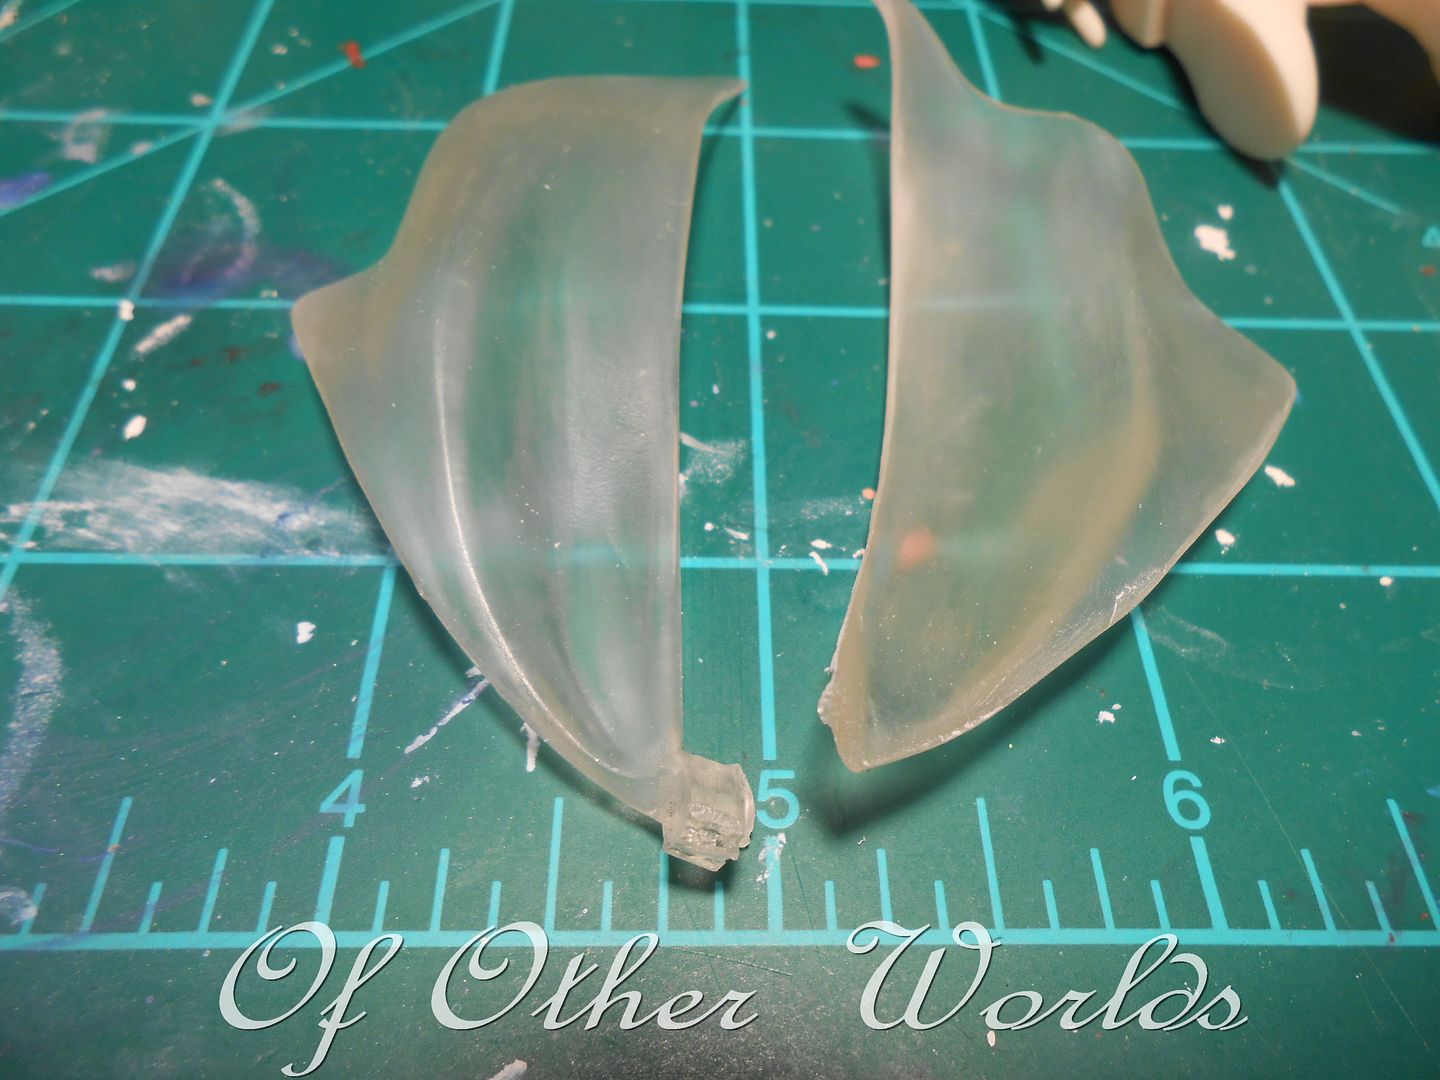
All that red stuff you see is putty...That's right. P-U-T-T-Y.
Seriously...WTF happened in this this workshop?
 Puttying isn't something I mind too much, but this amount of flaws and crap is just unreal. I could rant on and on about this, but I'll spare you.
Anyways, I did an initial coat of primer to check for flaws and such I missed after round numero uno of prepwork. Turns out I missed quite a bit.

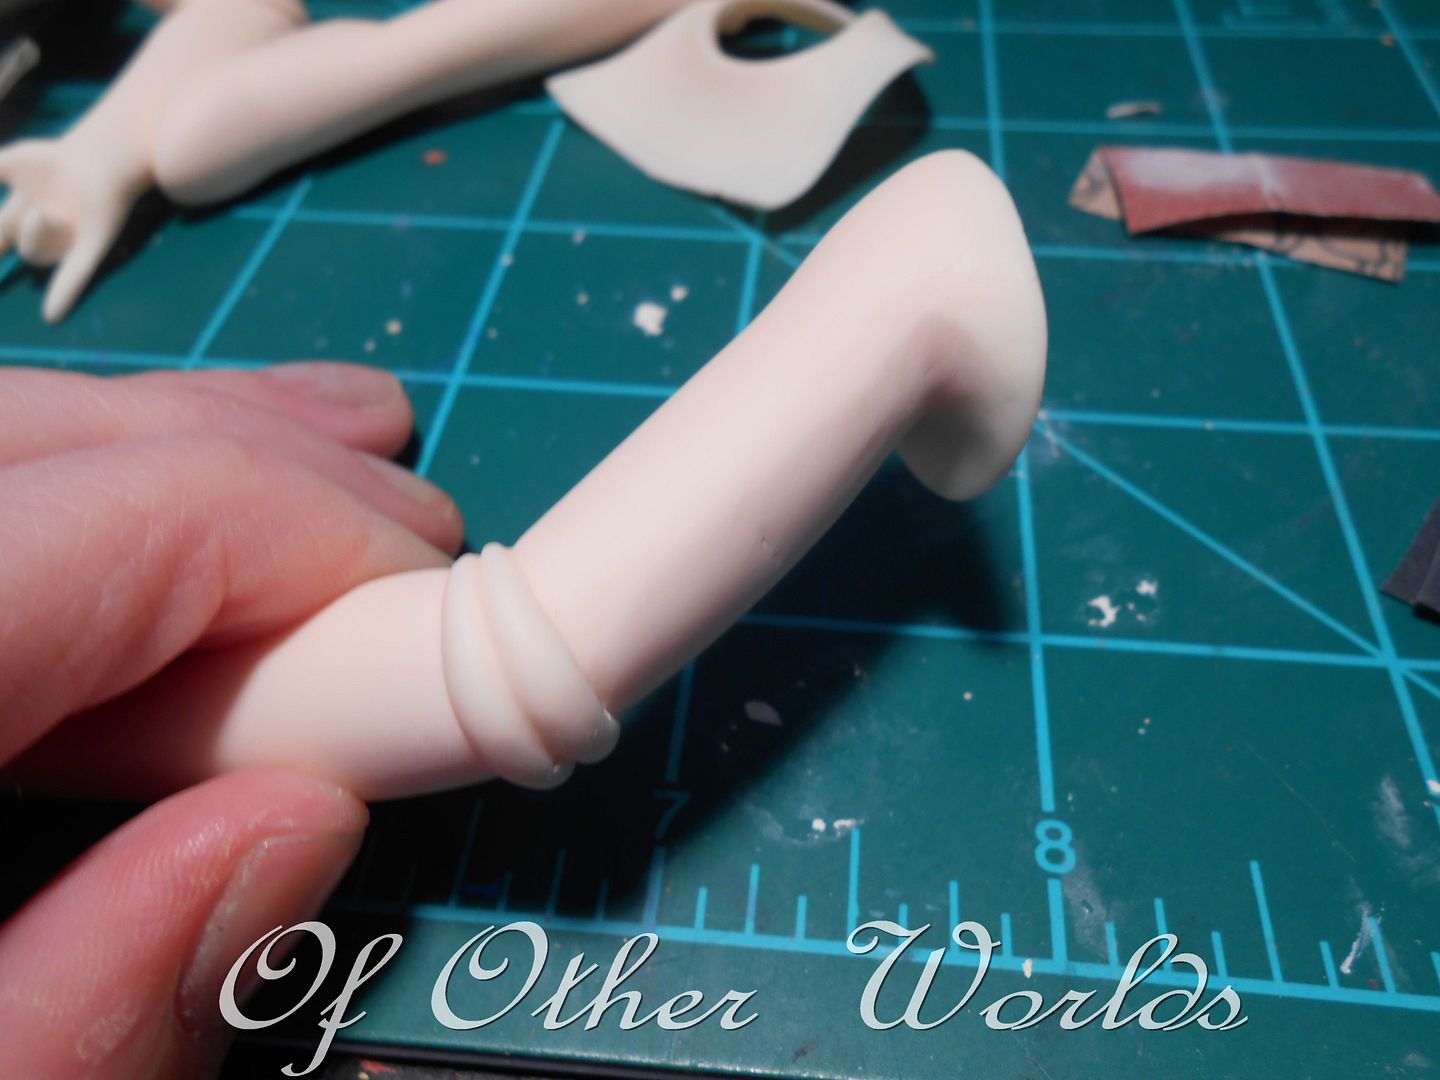
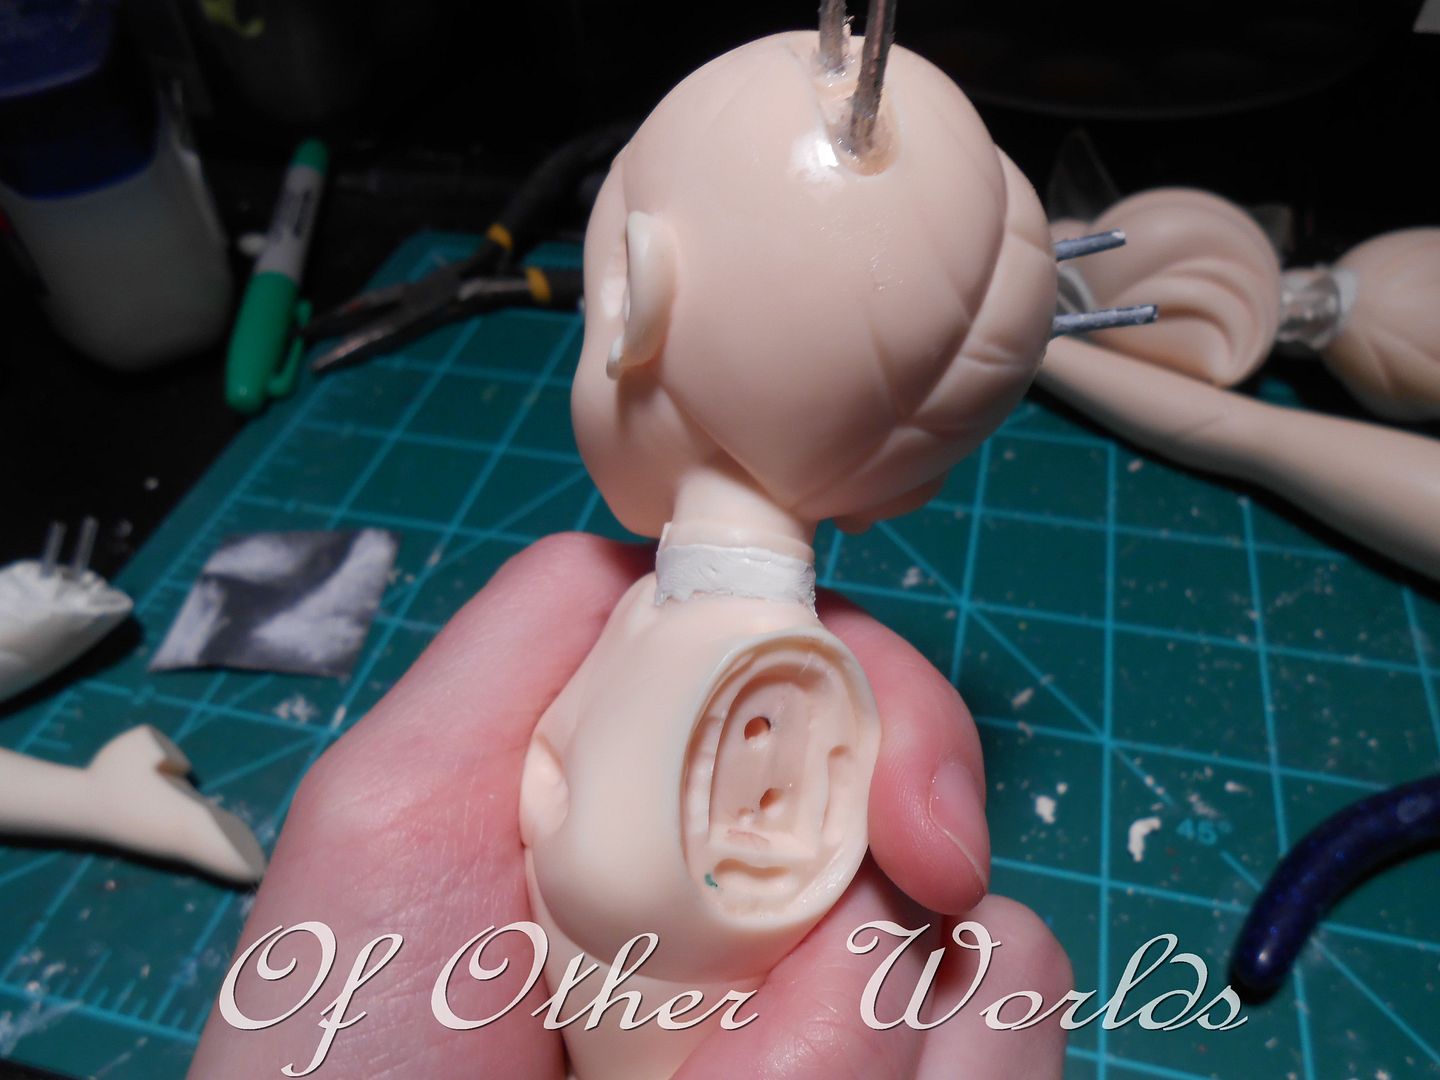
Repaired some more seams and areas where the putty didn't stick in the guidelines.
Fixed a small gap between her torso and skirt.

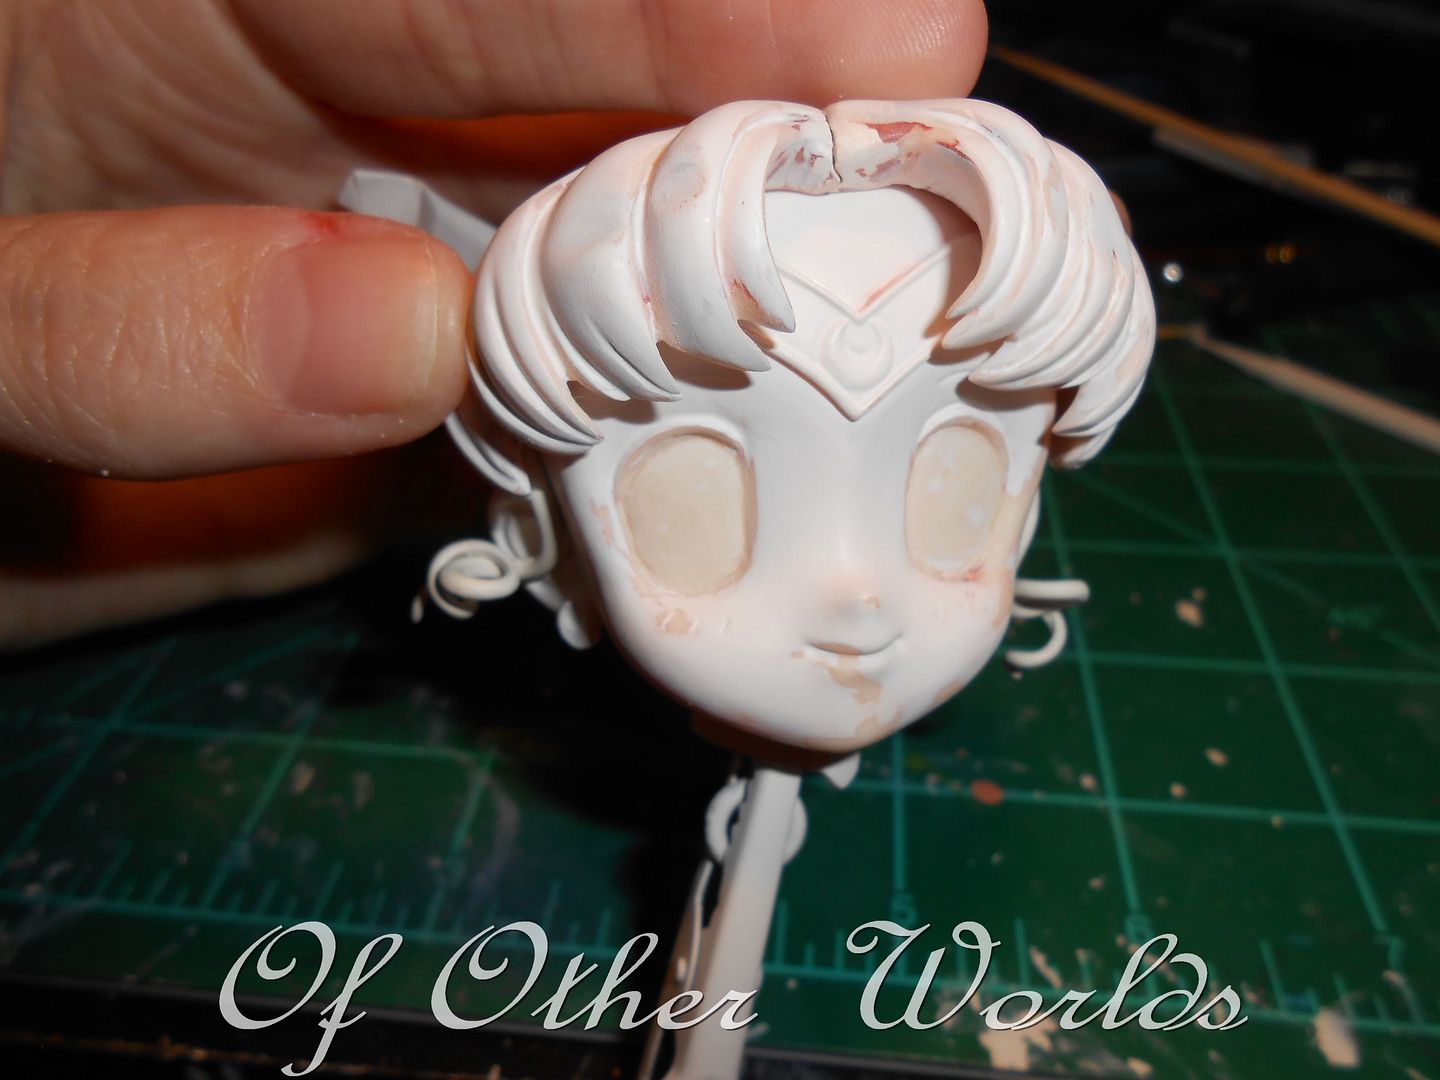
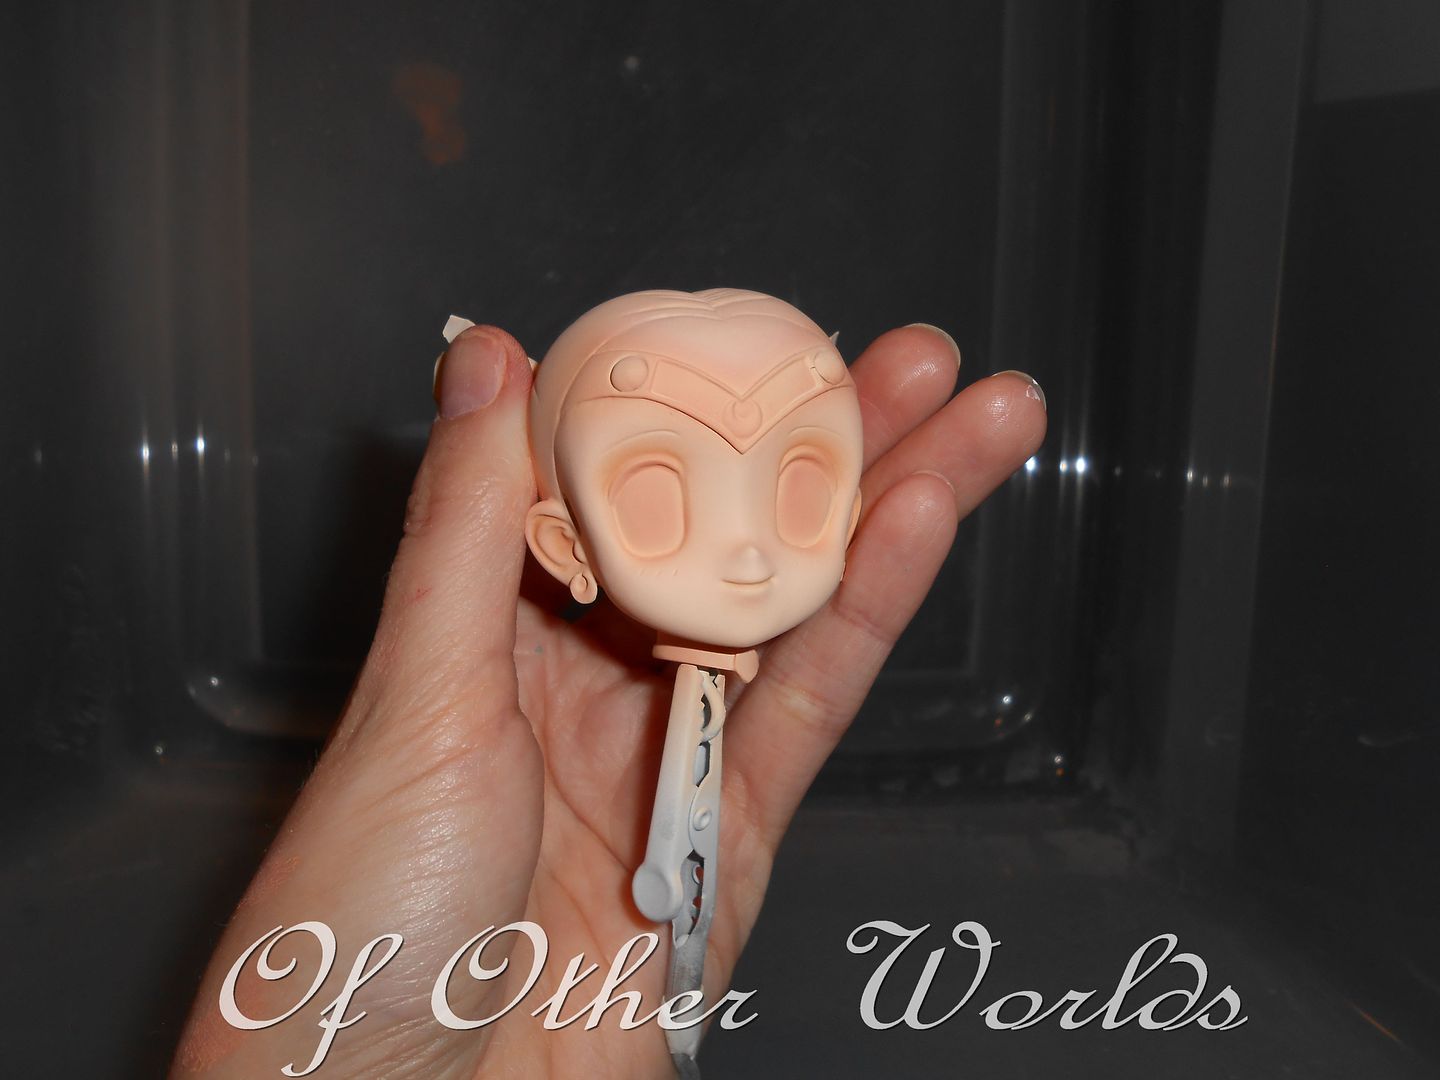
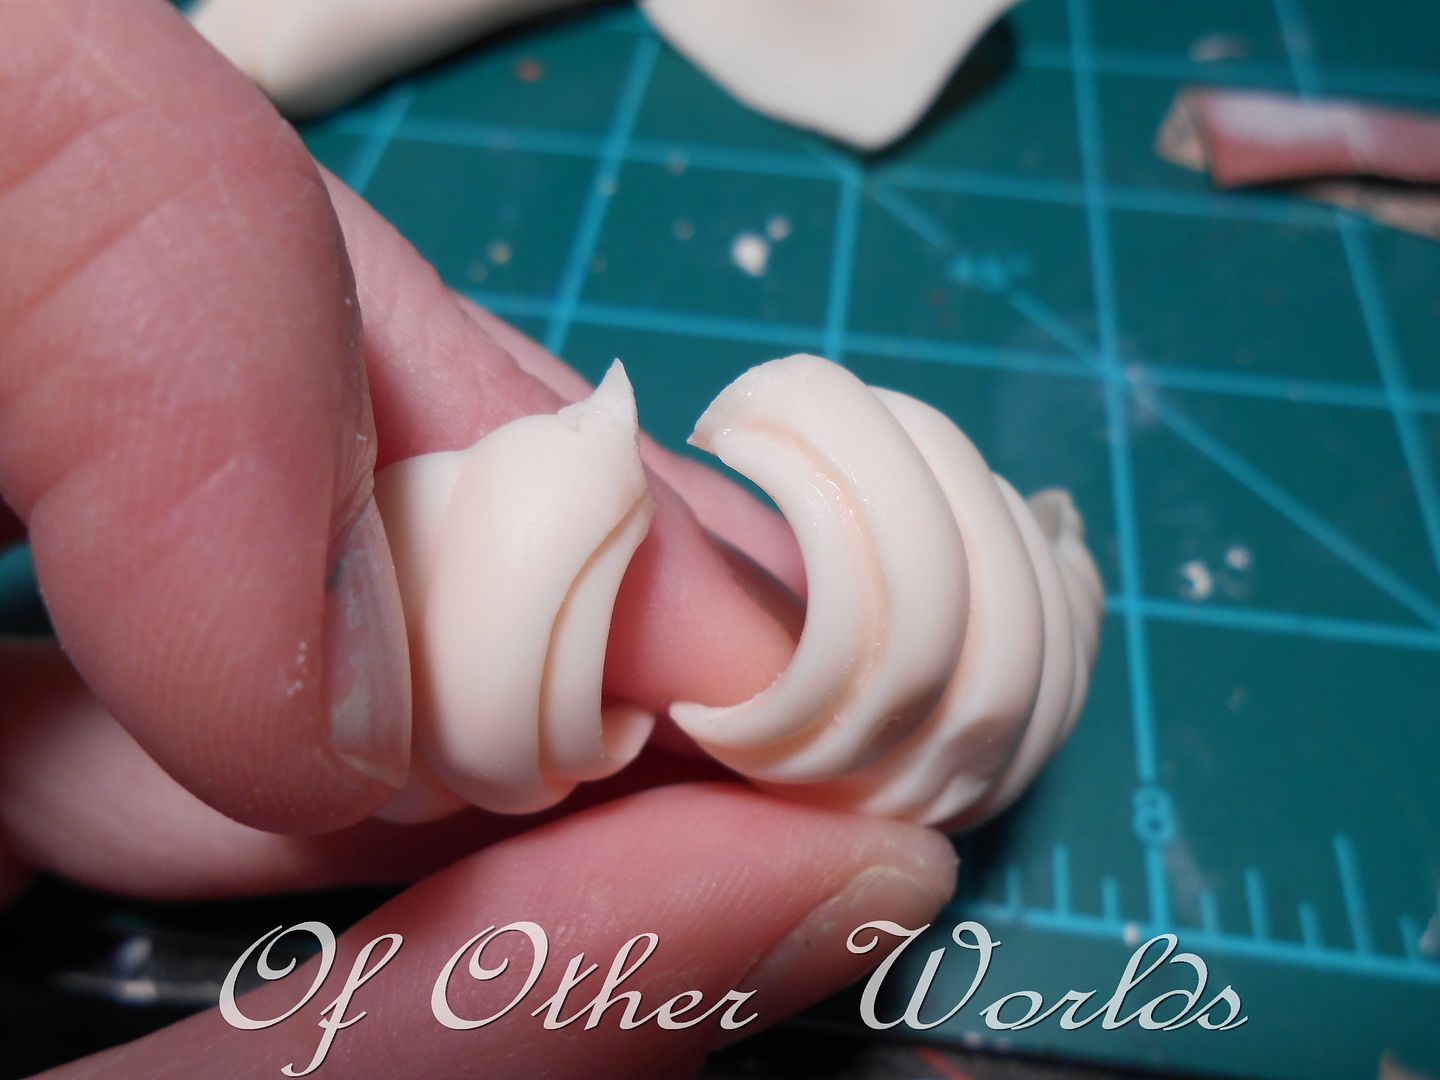
Seriously, it looked like someone friggin' chewed on her bangs o_O;
I went ahead and ground out her eyes as well, they were bugging me. I should have done that in the first place but oh well. I sculpted some side curls to go near her ears like in all of the manga references. I have to say, they turned out rather cute  !
!
!
SQUEE!
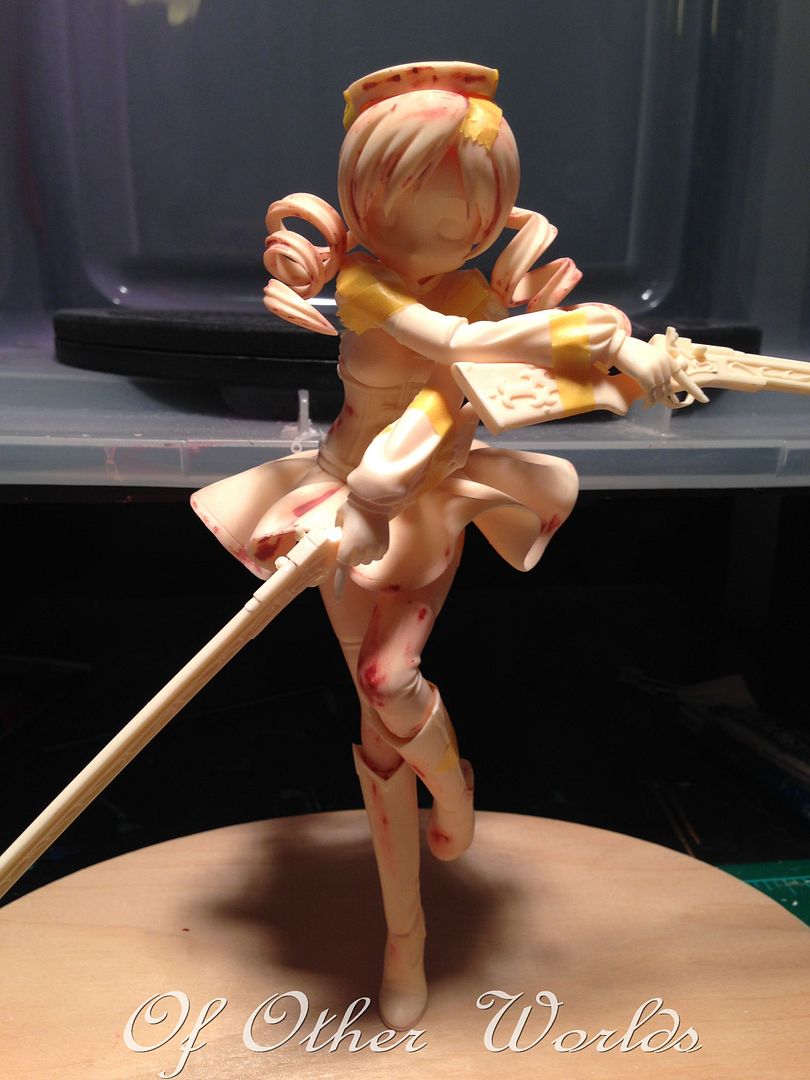
And after one more round of primer, she is ready to paint!
WOOT!
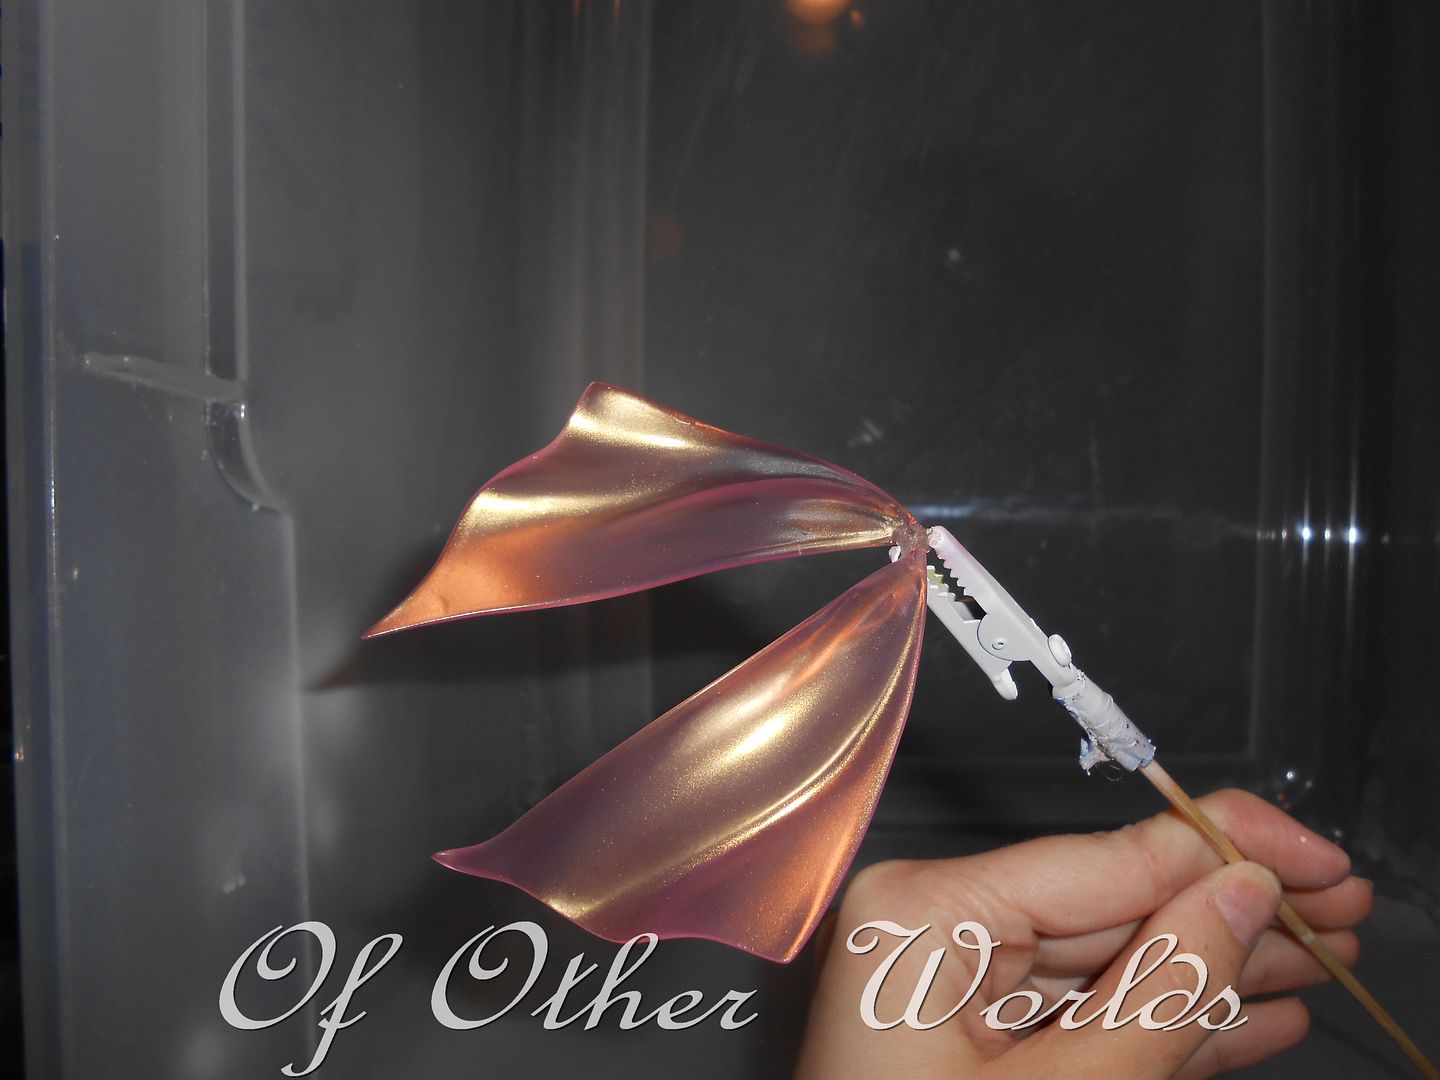
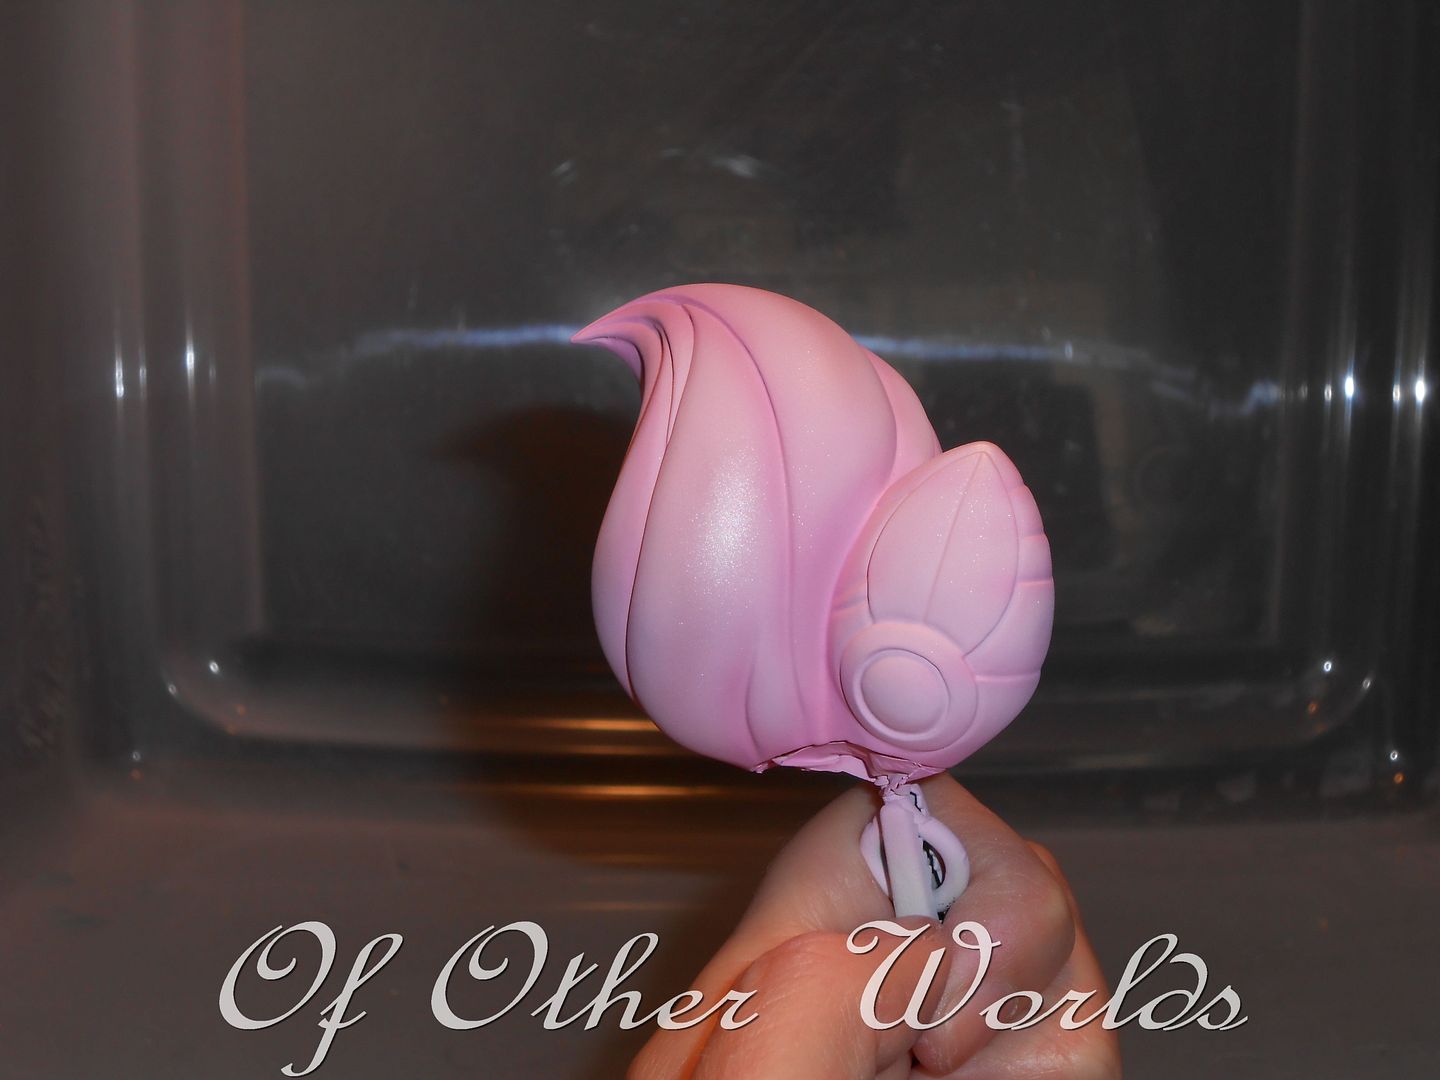
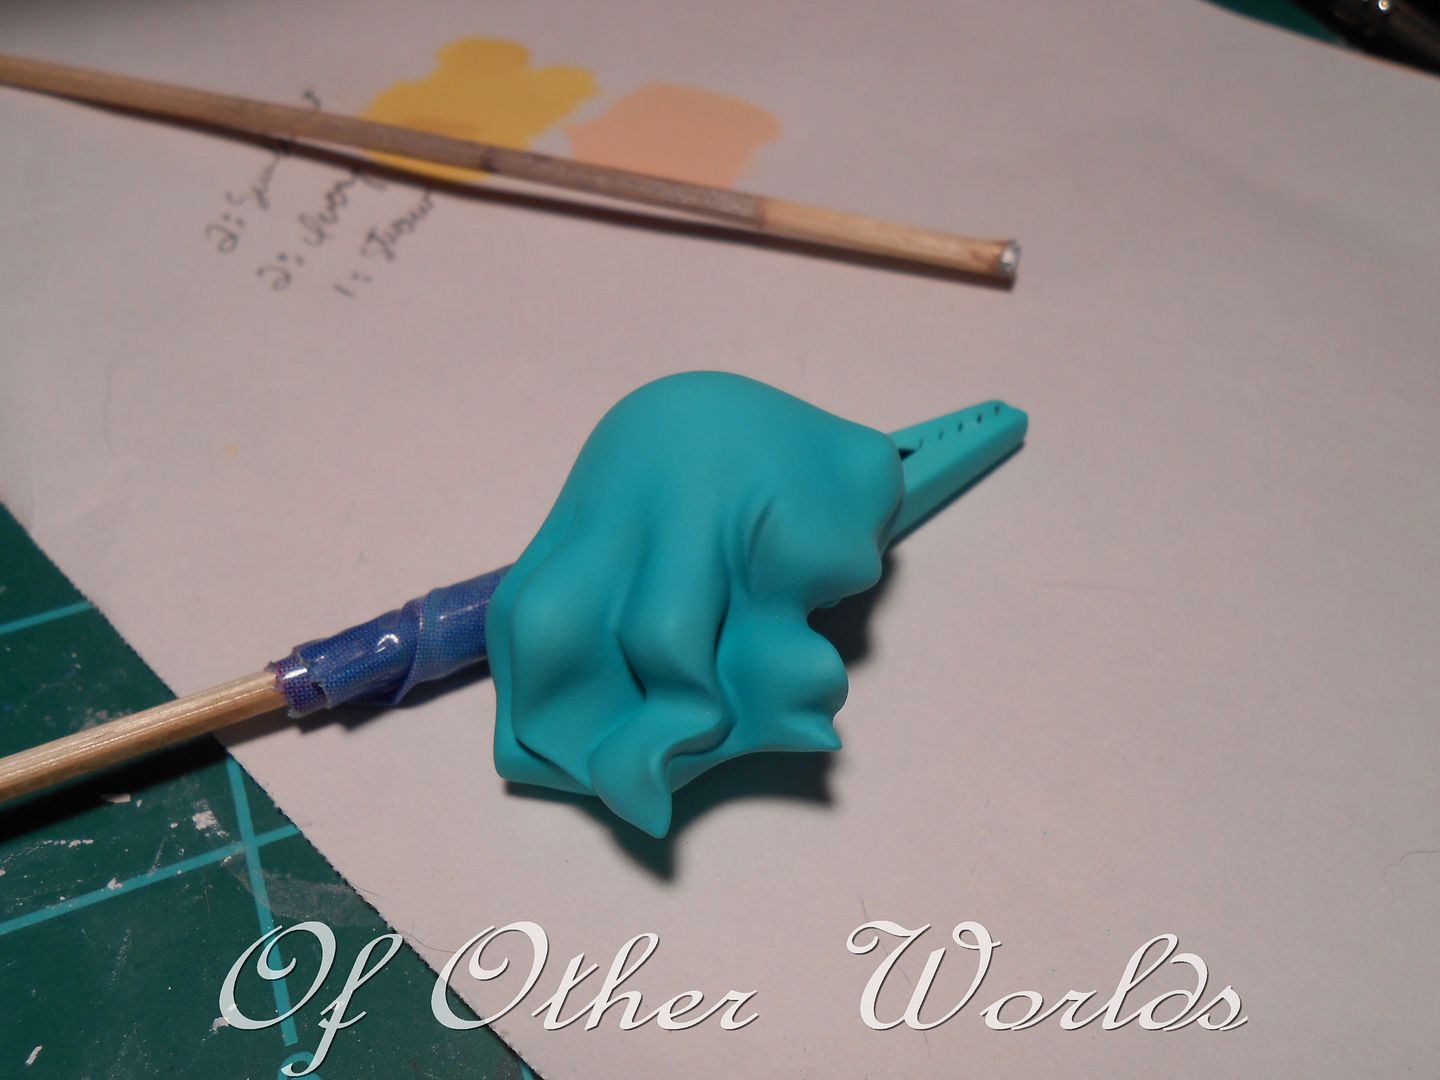
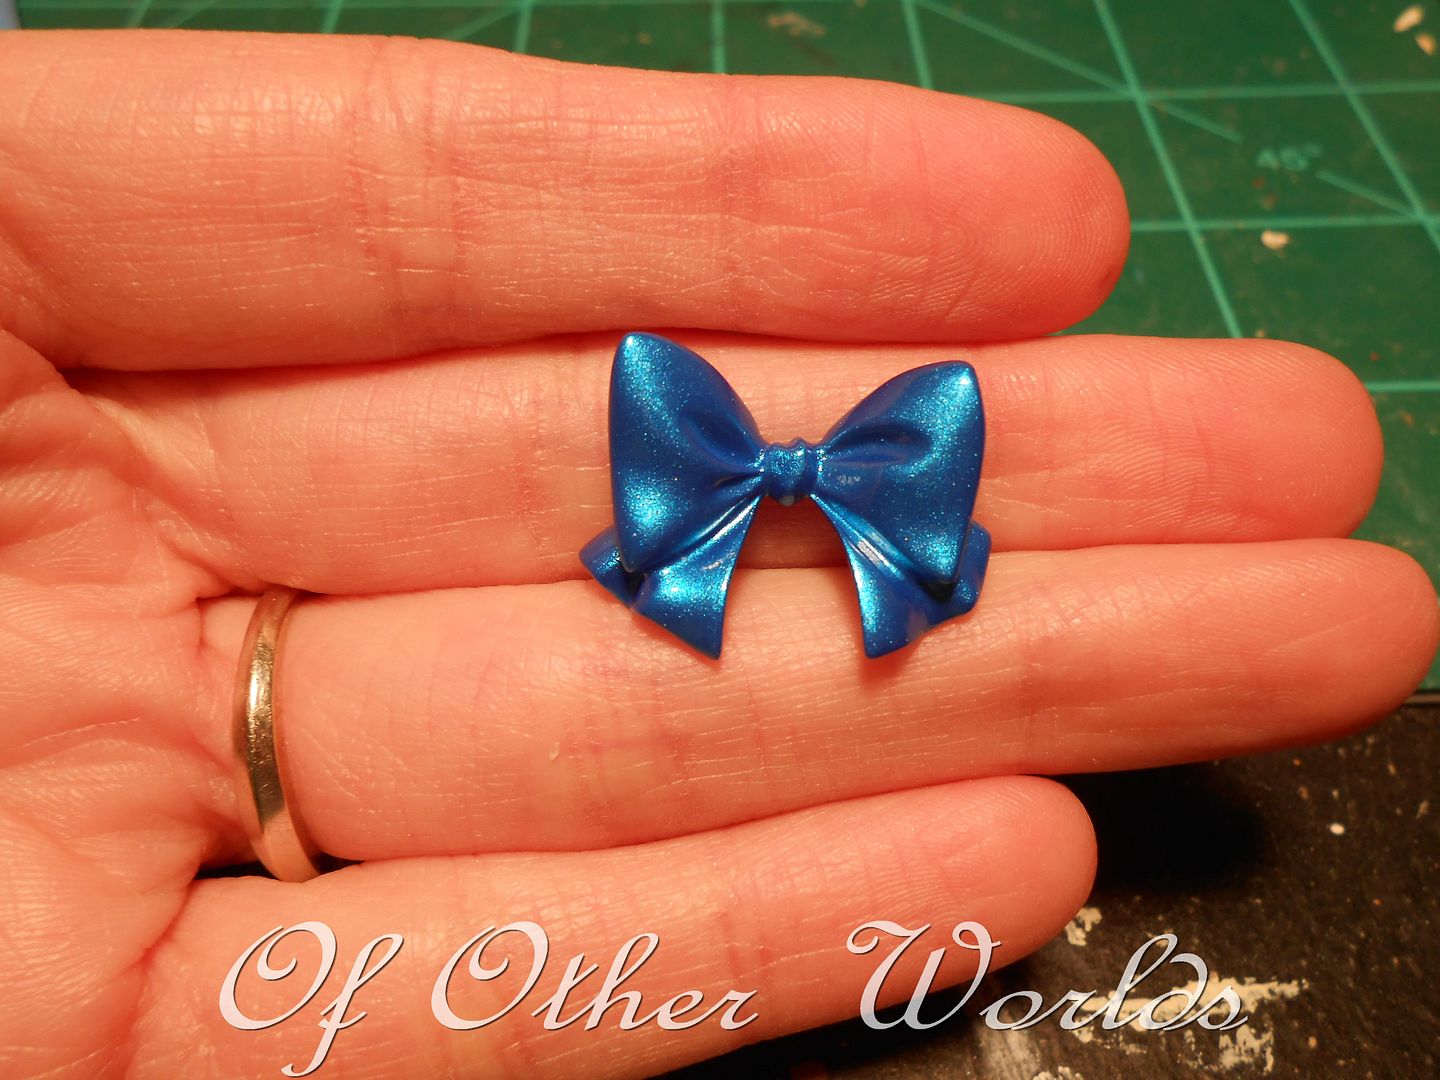
Started with some clear parts first. I mixed up a bit of Future Floor Wax and Pearl-Ex powder in Pink Gold. Here's the results on her back bow tails!
Oooo shiiiinyyyy @_@
As you can see, it is pink at some angles, and gold in others. But what is really cool is that the clear parts are still clear as well. I LOVE THIS STUFF  !
!
Next is the base skintone, which is on the pale side.
!Next is the base skintone, which is on the pale side.
Looks like me in the winter...
Then I added some shading.
Looks like me in the winter after I attempt self-tanner...
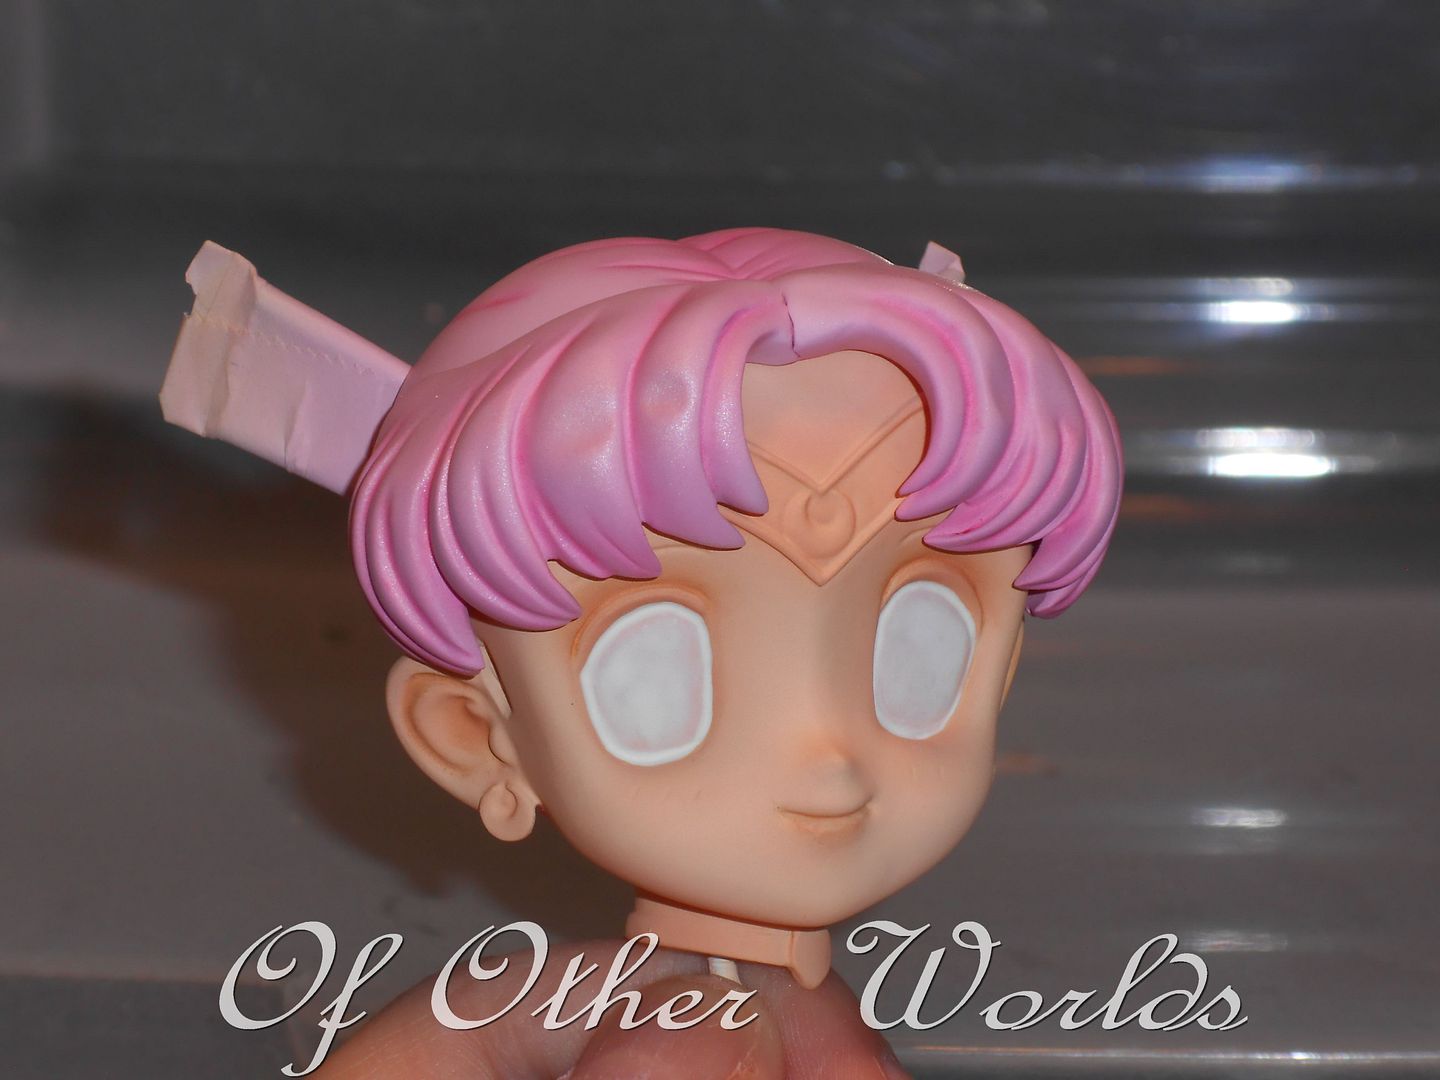
Time for Chibimoon to get her hair did!
I laid a pale pink base coat, followed by some shading in a slightly darker pink. After that I shaded the deepest areas with pastels, and highlighted with a pearl pink.
MORE SHININESS!
Looks odd as is, but once I seal it with a matte sealer, it will cut the metallic look down a bit. In fact, you may not see it at all unless the light hits it just right. And with that, hair and skin are complete!
She looks a tad creepy...
So now you have been caught up to where I am currently. Next up on the to-do list is her outfit, accessories, and face!
Oh, and her base. Which shall be interesting. I won't say exactly what I have in mind yet, but I will tell you it involves this stuff...

-insert mad scientist cackle-
Next post coming soon! 
 .
. .
. 


 !!!
!!! 
 !
!
 ! But I digress...
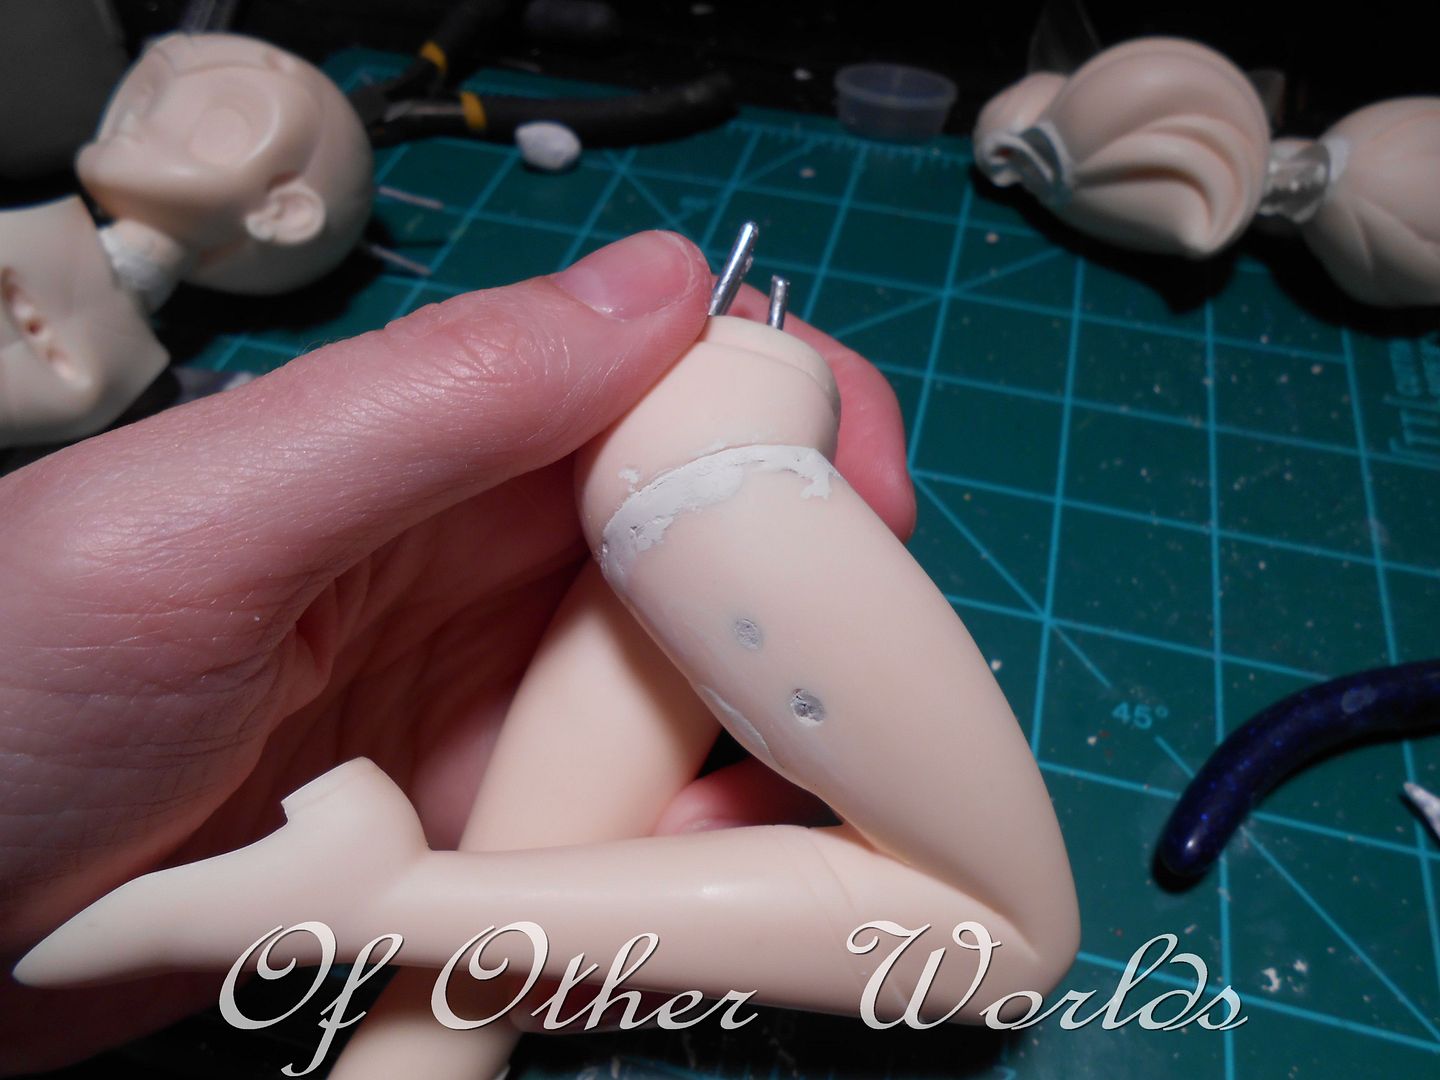
 !
! .
.  .
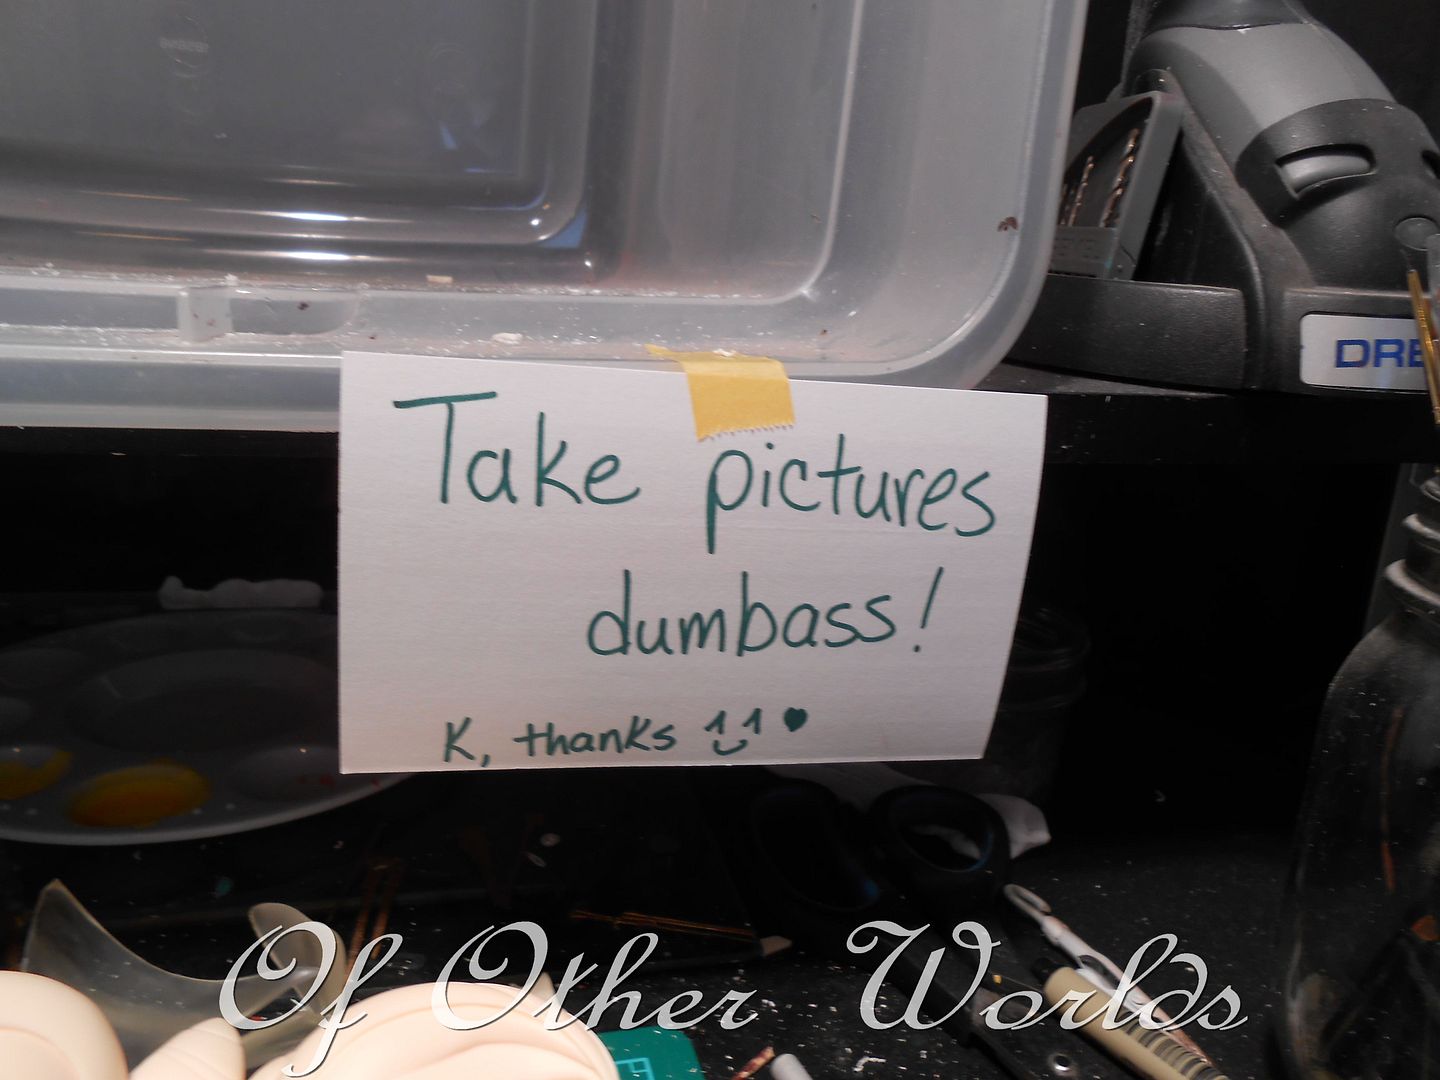
. ), and 2) Sometimes I get "in the zone" and forget to take progress pictures
  ( I have a lot on my plate as far as figures go lately between these ladies and my three contest kits so been forgetting to take the time to take pics).
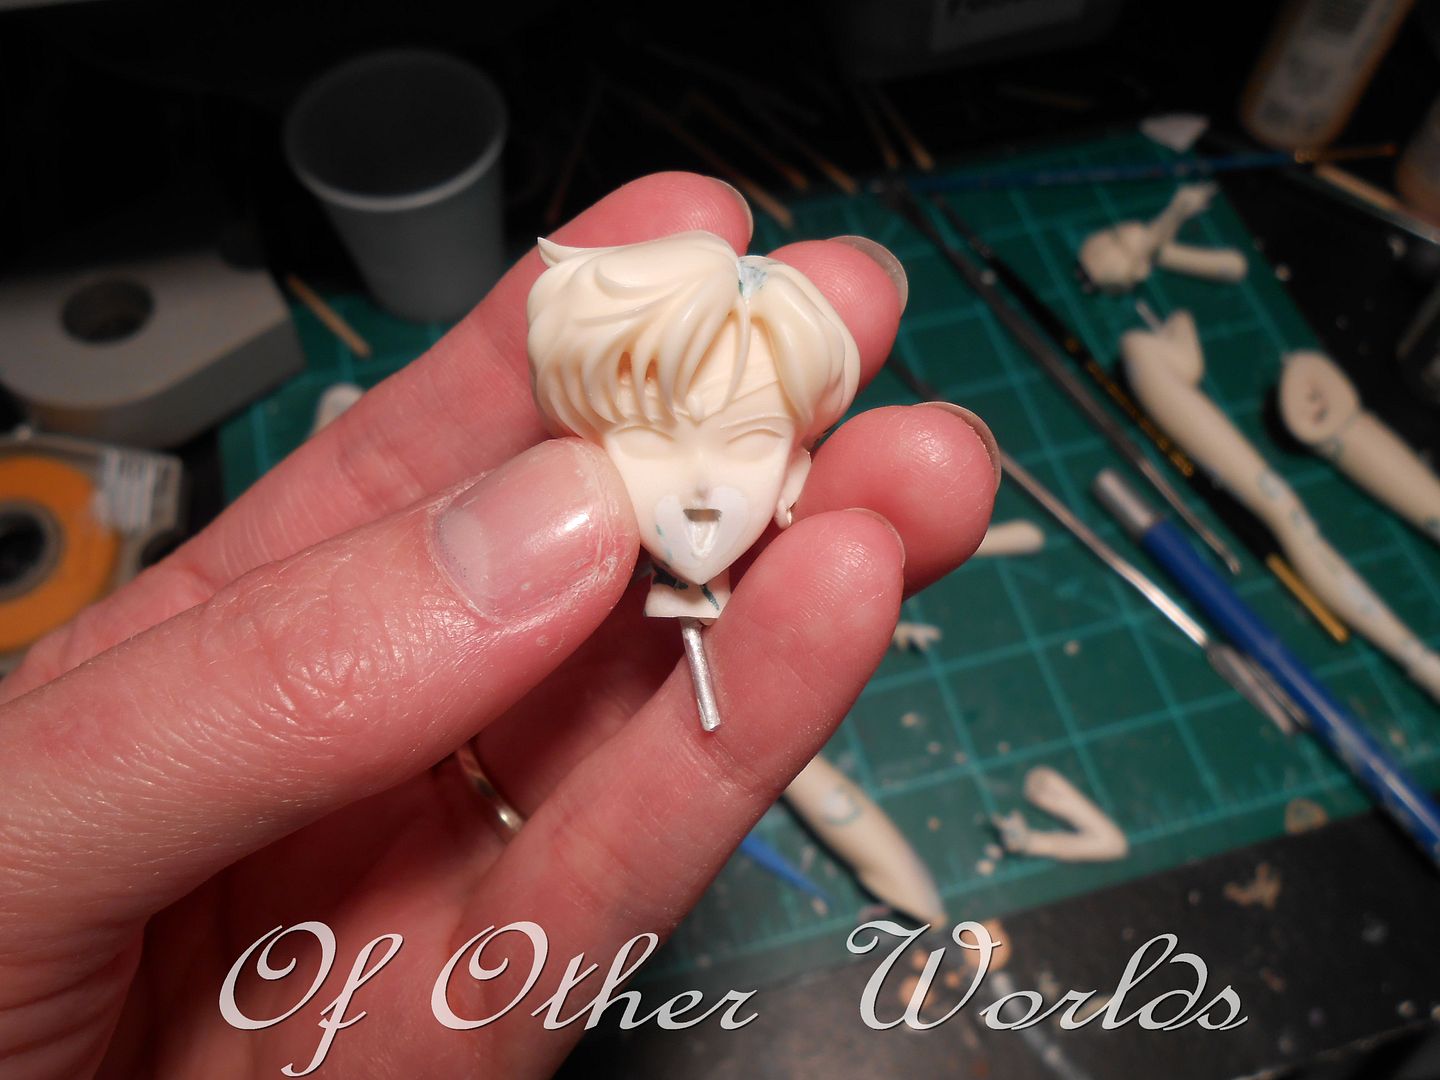
 ! So another round of putty and primer was in order (no pics of that, would prefer not to remember that incident
  ).
). . She is allowing me to do shading in their hair and white parts of their outfits though, so long as I keep it subtle. I can do that, contrary to popular belief...
 !!!
!!!


 ...
... .
. .
. 